Table of Content
Does this happen to you as well that you find a great post to share with your audience, but you know posting it right now would not result in the highest engagement?
Unfortunately, Facebook does not support direct scheduling of shared postings. But do not worry!
There is a simple technique to get around this barrier. Continue reading to learn how to schedule a shared post on Facebook and master your content calendar.
5 Easy Steps to Schedule a Shared Post on Facebook
If you want to schedule a shared post on Facebook, you need to use the desktop version and follow these simple steps:
Step 1: To schedule a post's share, click the three dots in the top right corner of the post. Click on 'Embed'.

Step 2: In the following dialog box, click 'Advanced Settings'.

Step 3: Select and copy all of the text in the 'URL of Post' box.

Step 4: Now, return to Facebook. Create a new post and include the link.
Step 5: Add any additional text you desire, then schedule publication as usual.
This technique is fairly quick and straightforward once you get the hang of it, and when combined with a content schedule, it greatly streamlines your digital marketing efforts.
Reasons Why Facebook Doesn’t Allow to Schedule a Post
There are a few common reasons for not being able to schedule a post on Facebook.
First, make sure you are logged into the correct account. If you're logged into a personal rather than a business page, or if you're not a page administrator, you won't be able to schedule posts.
Next, make sure you're looking in the correct location. Until recently, the post scheduling feature was relocated from the Facebook Business pages' "Create Post" box to the "Publishing Options" page.
If you try to create a scheduled post from your front page, you will not see the scheduling button, but instead an information box directing you to the Publishing Options page.
While scheduling Facebook postings is convenient, it is critical to be aware of the information you disclose. Third-party trackers may hide in shared content, possibly capturing your browsing behavior and interests.
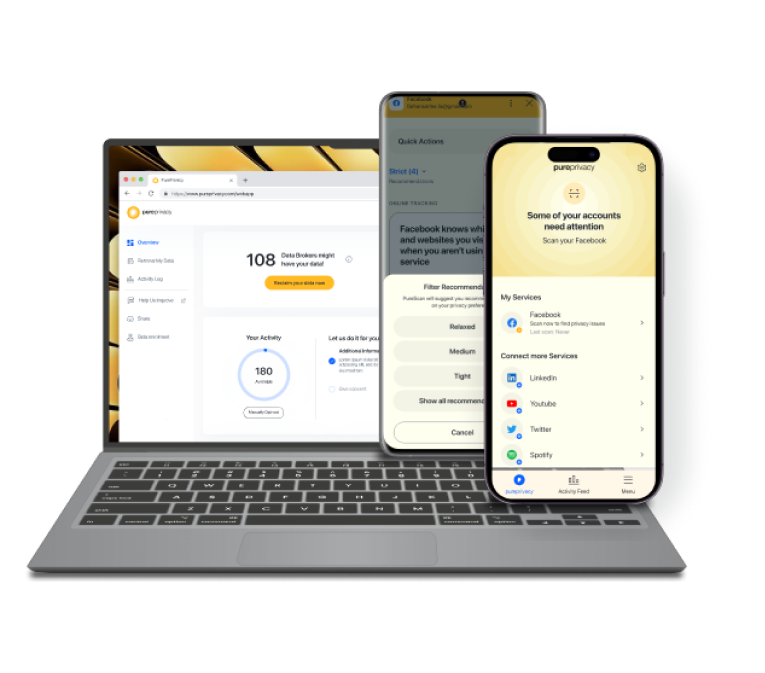
This information can be used in targeted advertising or sold to other businesses. Apps like PurePrivacy provide a solution by blocking these trackers, thereby maintaining your online privacy and reducing the danger of data theft.
Block Unwanted Trackers and Stop Data Collection
PurePrivacy allows you to take control of your online privacy by preventing trackers and websites from collecting your information.
Stop 1000+ Trackers from Data Collection
You can disable online trackers that websites and ad networks use to track your online behavior and prevent firms from creating a profile of your preferences and habits.
Remove Your Information from Data Brokers
You can get rid of your personal information from data broker websites, making it challenging for companies to monitor you online.
Enhance Your Social Media Privacy
PurePrivacy makes recommendations for altering the privacy settings on your social media accounts.
Frequently Asked Questions (FAQs)
-
Is it possible to schedule a shared Facebook post?

If you wish to publish a group post at a certain time, you have two options:
Scheduled postings: When creating postings, administrators can schedule them to be published later.
Recurring posts: Admins can utilize Admin Assist to generate recurring posts that appear daily, weekly, or monthly. -
How can I schedule posts on Meta?

After you've finished writing your post, activate the toggle switch for Scheduling options.
Select a day and time to publish your post.
Click Active times to schedule your post for the peak times of your audience's activity.
Click on Schedule. -
Is it possible to schedule Facebook and Instagram posts?

Go to Content or Planner. You can also go home. Click "Create post." Choose where you wish to schedule a post: Facebook Feed, Instagram Feed, or Both.
-
How can I schedule a post to a Facebook group?

Open your group. Go to the composer to make a post. Create your post, then click the schedule button above the text area. Choose a time and date, then save your post; it will be posted automatically at that time!
Wrapping Up
While Facebook does not enable you to directly schedule shared posts, you can achieve a similar result by copying and pasting the link into a scheduled post alongside your response.
This strategy provides greater flexibility than conventional sharing and ensures that your audience sees the content at the best time.

