Table of Content
Be You on Facebook!
Facebook embraces all genders!
This guide walks you through updating your profile, whether you're male, female, non-binary, or anything else.
Set your pronouns and express your authentic self!
How to Change Your Gender on Facebook
You can change your gender on Facebook by following the steps mentioned below:
On Desktop Computers
Step 1: Log into Facebook and go to your profile.
Step 2: Click the "About" button.

Step 3: Click on "Contact and Basic Info."

Step 4: Hover your cursor over the "Gender" box to see the "Edit" button. When the option "Edit" appears, click it.
From here, you can edit your listed gender, pronouns, and whether or not your gender should be visible on your timeline.

Step 5: If you don't want your gender displayed on your timeline, uncheck the box next to "Show on my timeline."

Step 6: Select "Male," "Female," or "Custom" from the drop-down option, whichever is most appropriate for you.

Step 7: If you select "More Options," a white box will appear. Enter your gender in the box and click on it when it appears.

Step 8: Under "What pronoun do you use?", select the option that most accurately describes your pronouns from the drop-down menu.
Step 9: When you're ready, click "Save Changes" to finalize the changes to your profile.

On iOS Devices
Step 1: Open the Facebook app on your mobile phone or any iOS device.
Step 2: Tap on the hamburger menu icon. It's at the lower-right corner of the screen.

Step 3: Tap your name. It should appear at the top of the screen.

Step 4: Scroll down a bit and tap Edit Profile. It's in a row of selections beneath your profile image. If you see the Edit About option underneath your profile photo, tap it.

Step 5: Tap More About You. This tab's position on the screen varies but usually displays just below your personal information at the top of this page.
Step 6: Scroll to the "Basic Info" section and tap Edit. This part is located underneath the "Contact Information" section. The Edit button is in the upper right corner of the "Basic Info" panel.

Step 7: Select a gender choice. You can choose Male, Female, or Custom here. If you select Custom, a Custom Gender window will appear below the Gender area.
You can include your preferred pronoun and gender here. Tapping the circle in the top right corner of the Gender pane will bring up the option to hide your gender from your Timeline.

Step 8: Scroll down and tap Save. It is near the bottom of the screen. Your gender preference will be updated.

On Android Devices
Step 1: Open the Facebook app on your mobile phone or any Android device.

Step 2: Tap on the hamburger menu icon. It's at the upper-right corner of the screen.

Step 3: Tap your name. It should appear at the top of the screen.

Step 4: Scroll down and tap See your About Info. It's in a row of selections beneath your profile image. If you see the Edit About option underneath your profile photo, tap it.

Step 5: Tap More About You. This tab's position on the screen varies but usually displays just below your personal information at the top of this page.
Step 6: Scroll to the "Basic Info" section and tap Edit. This part is located underneath the "Contact Information" section. The Edit button is in the upper right corner of the "Basic Info" panel.

Step 7: Select a gender choice. You can choose Male, Female, or Custom here. If you select Custom, a Custom Gender window will appear below the Gender area.
You can include your preferred pronoun and gender here. Tapping the circle in the top right corner of the Gender pane will bring up the option to hide your gender from your Timeline.

Step 8: Scroll up and tap Save. It is near the bottom of the screen. Your gender preference will be updated.

While upgrading your social media page to represent your genuine identity is essential, remember that increased online visibility might lead to security issues. Sharing personal information, especially on networks like Facebook, exposes you to data breaches and targeted advertising.
Tracker blockers and privacy services such as PurePrivacy can help in this situation. They may reduce these risks by restricting Facebook's data and prohibiting third-party trackers from following you across the internet.
Boost Your Online Privacy With PurePrivacy
Your online identity is always at risk!
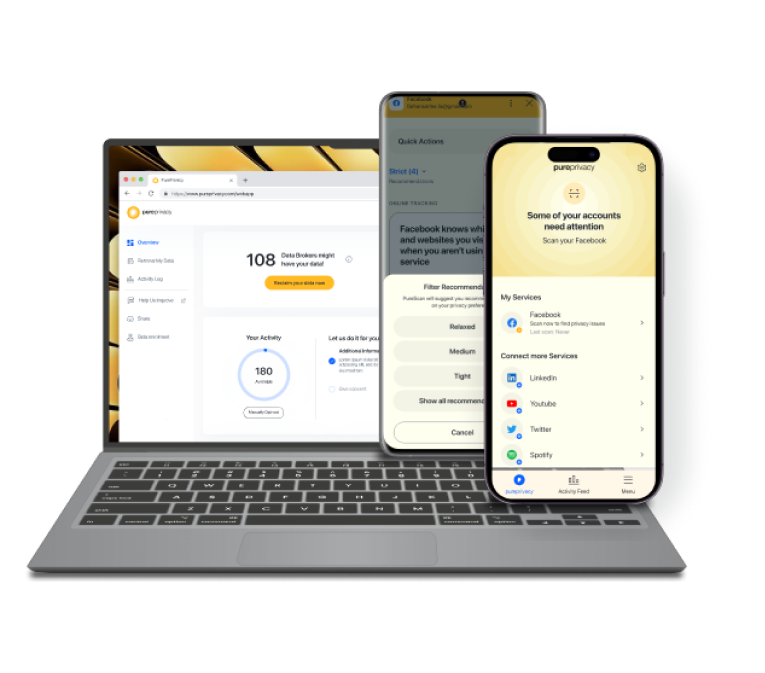
PurePrivacy is an all-in-one solution for gaining control of your online identity and protecting your data.
It allows you to modify your social network privacy settings, delete your information from data brokers, and have a safer online experience.
Deep Clean Your Social Media Risks
Want to ditch your search history on Facebook, Instagram, and more? PurePrivacy makes it easy! It securely deletes your searches across platforms, keeping your online activity private. Take back control and boost your privacy with a single click!
Choose What to Share
Take control of your posts! Hide them, make them private, or delete them entirely. Keep sensitive info hidden or remove unwanted content without being noticed by trackers, hackers, or cyber intruders.
Complete Scan for Personalized Privacy Recommendations
PurePrivacy’s powerful scanner analyzes your accounts, revealing areas for improvement. Get personalized tips to tighten up your privacy and keep your information secure.
Frequently Asked Questions (FAQs)
-
How can you change your gender identity on Facebook?

Here’s how:
Log into Facebook and navigate to your page.
Select the About tab.
Select Contact and Basic Information.
Choose the Edit icon next to your gender. -
What is the custom gender on Facebook?

On Facebook, "custom gender" lets you choose a term beyond "male" or "female" to describe your gender identity.
-
Can anyone see my gender on Facebook?

Yes, by default, people can see your gender on Facebook unless you change your privacy settings.
Optimize Social Media with Security!
While directly connecting Pinterest and Instagram for automatic post sharing is not possible, you can still generate traffic between the two sites. Sharing your Pinterest profile link in your Instagram bio is an excellent tactic. However, security is critical when linking accounts across platforms.
Allowing third-party apps access to your data demands vigilance. Before linking, carefully review the authorization details. Phishing scams can mimic reputable websites to obtain login credentials, so double-check URLs before allowing any connection.


